
Natural Light Cinematography: How to Craft Cinematic Images with Hard and Soft Light

Staging talent to harness light for cinematic imagery.
Natural light is the most powerful — and most unpredictable — tool available to a cinematographer. When you know how to work with it, the results can feel more alive, more grounded, and more emotionally resonant than almost any studio setup. When you don’t, even a technically correct exposure can look flat, amateur, and forgettable.
The key to mastering natural light cinematography is understanding that you’re not just working with one kind of natural light. You’re navigating two fundamentally different conditions — hard light and soft light — each requiring its own strategy, its own tools, and its own set of creative instincts. This guide breaks down both approaches in depth, so you can build cinematic images outdoors in any weather.
What Makes an Image Look Cinematic?
Before getting into lighting technique, it’s worth establishing the visual foundation that both hard and soft light approaches are building toward. Cinematic imagery almost always shares one structural quality: depth through tonal layering.
That means three distinct tonal zones working together in the frame:
A dark foreground — draws the eye inward, past the edge of the frame and into the scene
A well-lit subject in the mid-ground — the natural focal point, surrounded by shadow that gives it shape and weight
A darker background — prevents the image from reading flat, with selective accent lights picking out points of interest without competing with the subject
This structure is the goal of every technique discussed below. Hard light and soft light are simply different roads to the same cinematic destination. Keep this framework in mind as you read — it will make every decision clearer.
Hard Light Cinematography: Working with Direct Sunlight
Hard light — direct, unobstructed sunlight — is the most misunderstood condition in outdoor cinematography. It has a reputation for being harsh and unflattering, especially around midday. But when the sun is low in the sky — during golden hour, early morning, or late afternoon — hard light becomes one of the most dramatic and sculpting tools a cinematographer has access to.
The secret is a counterintuitive approach to camera placement.
Always Shoot Into the Sun
The default instinct is to put the sun behind the camera, illuminating the subject from the front. This gives you safe, even exposure — and almost universally flat, uncinematic results. The more powerful approach is to turn around entirely.Face your lens toward the sun, place it directly behind the subject or off to one side, and let the light work as a sculptor rather than a floodlight.
When the sun sits directly behind the subject, you get a powerful rim or halo effect — the edges of the subject glow with warm light while the face falls into shadow, creating instant separation and depth. When the sun is positioned slightly behind and to one side, you get pronounced rim lighting on one edge, strong three-dimensionality, and a sense of the subject being in an environment rather than lit for a camera.
In both cases, you are shooting into the light — a backlighting technique that transforms the sun from an obstacle into your primary cinematic tool.
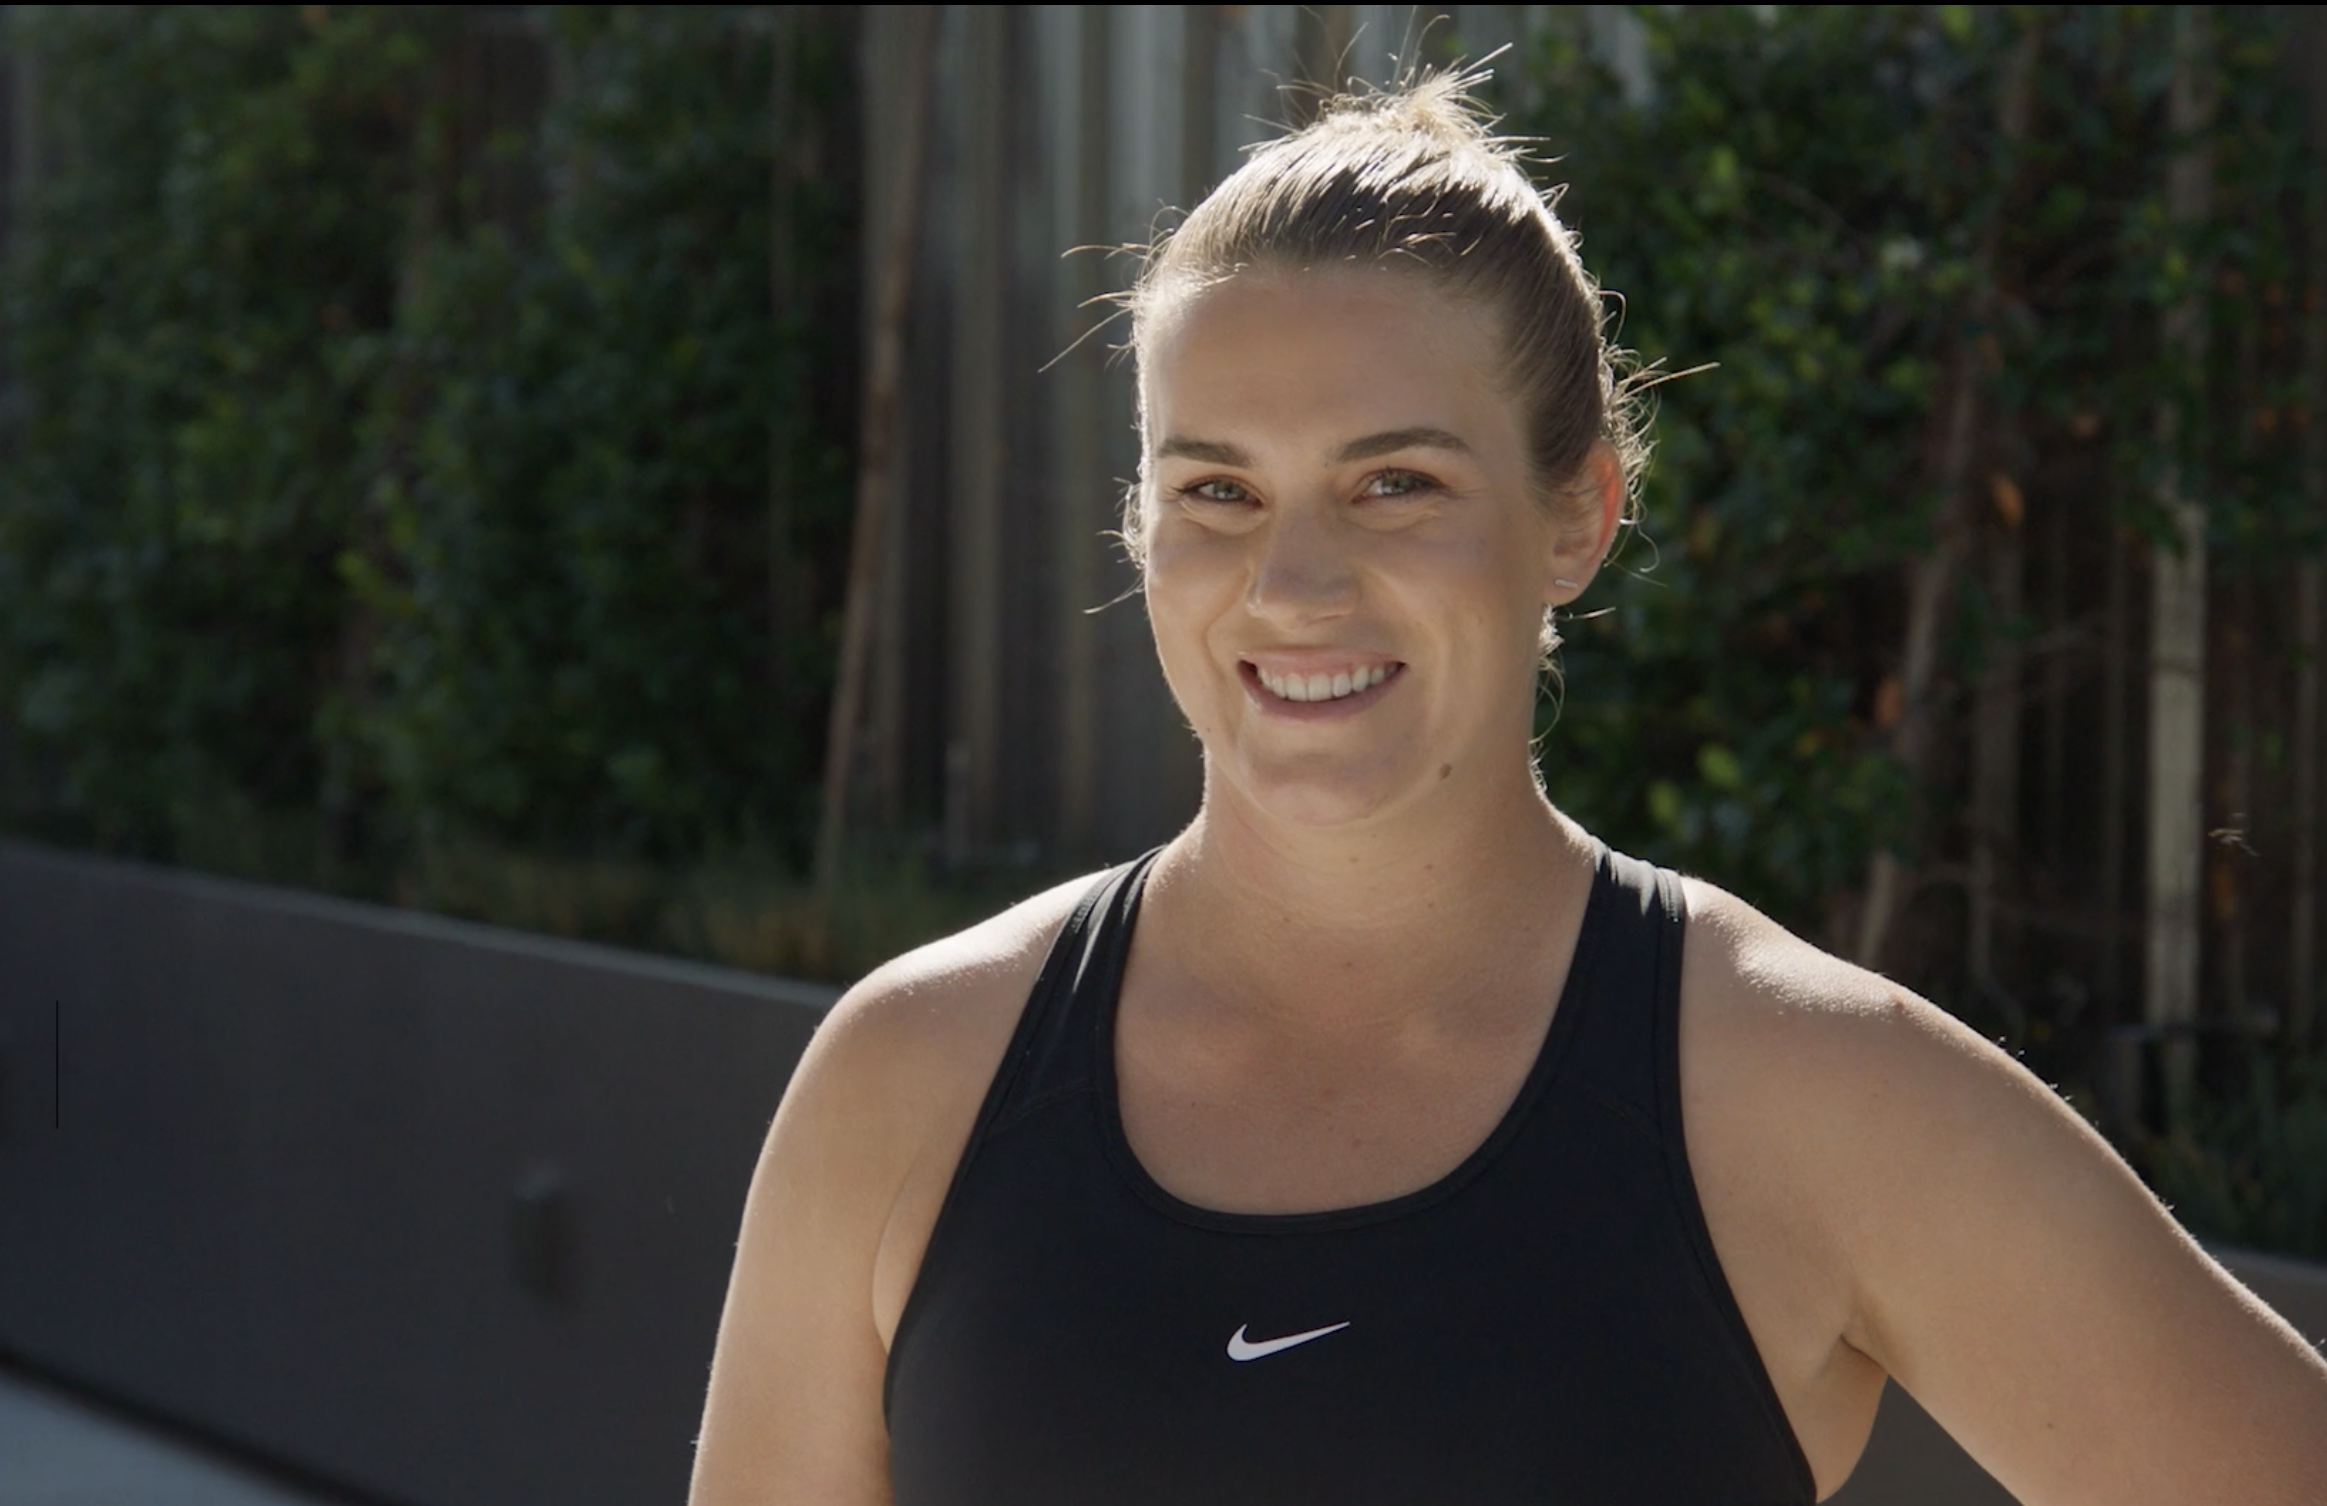
An athlete framed with the sun in front of the lens, shooting into a dark background.
Seek Out Dark Backgrounds
When shooting into the sun with a backlit subject, background tone becomes critical. Always look for dark backgrounds: deep shadow under trees, a shaded doorway or alley, the dark side of a building, or an unlit interior seen through an opening. A dark background behind a rim-lit or backlit subject creates extraordinary separation and pop. When the background is bright or busy, that tonal contrast disappears and the image falls apart.
Finding a dark background is as important as finding the right sun angle. Scout for both together.
Use Bounce Boards and Reflectors to Shape Shadow
Shooting into the sun means the subject’s face is in shadow. This is where bounce boards and reflectors become essential. A silver or white reflector positioned just outside the frame — angled to catch sunlight and redirect it back toward the face — lets you control exactly how much fill light you introduce.
The advantage of reflector fill over artificial fill in hard light situations is significant: because you’re bouncing actual sunlight back at the subject, the quality, colour temperature, and character of the fill matches the key perfectly. It never looks artificial because it isn’t. You can dial the fill up or down by moving the reflector closer or further, and angle it to shape where the light lands on the face.
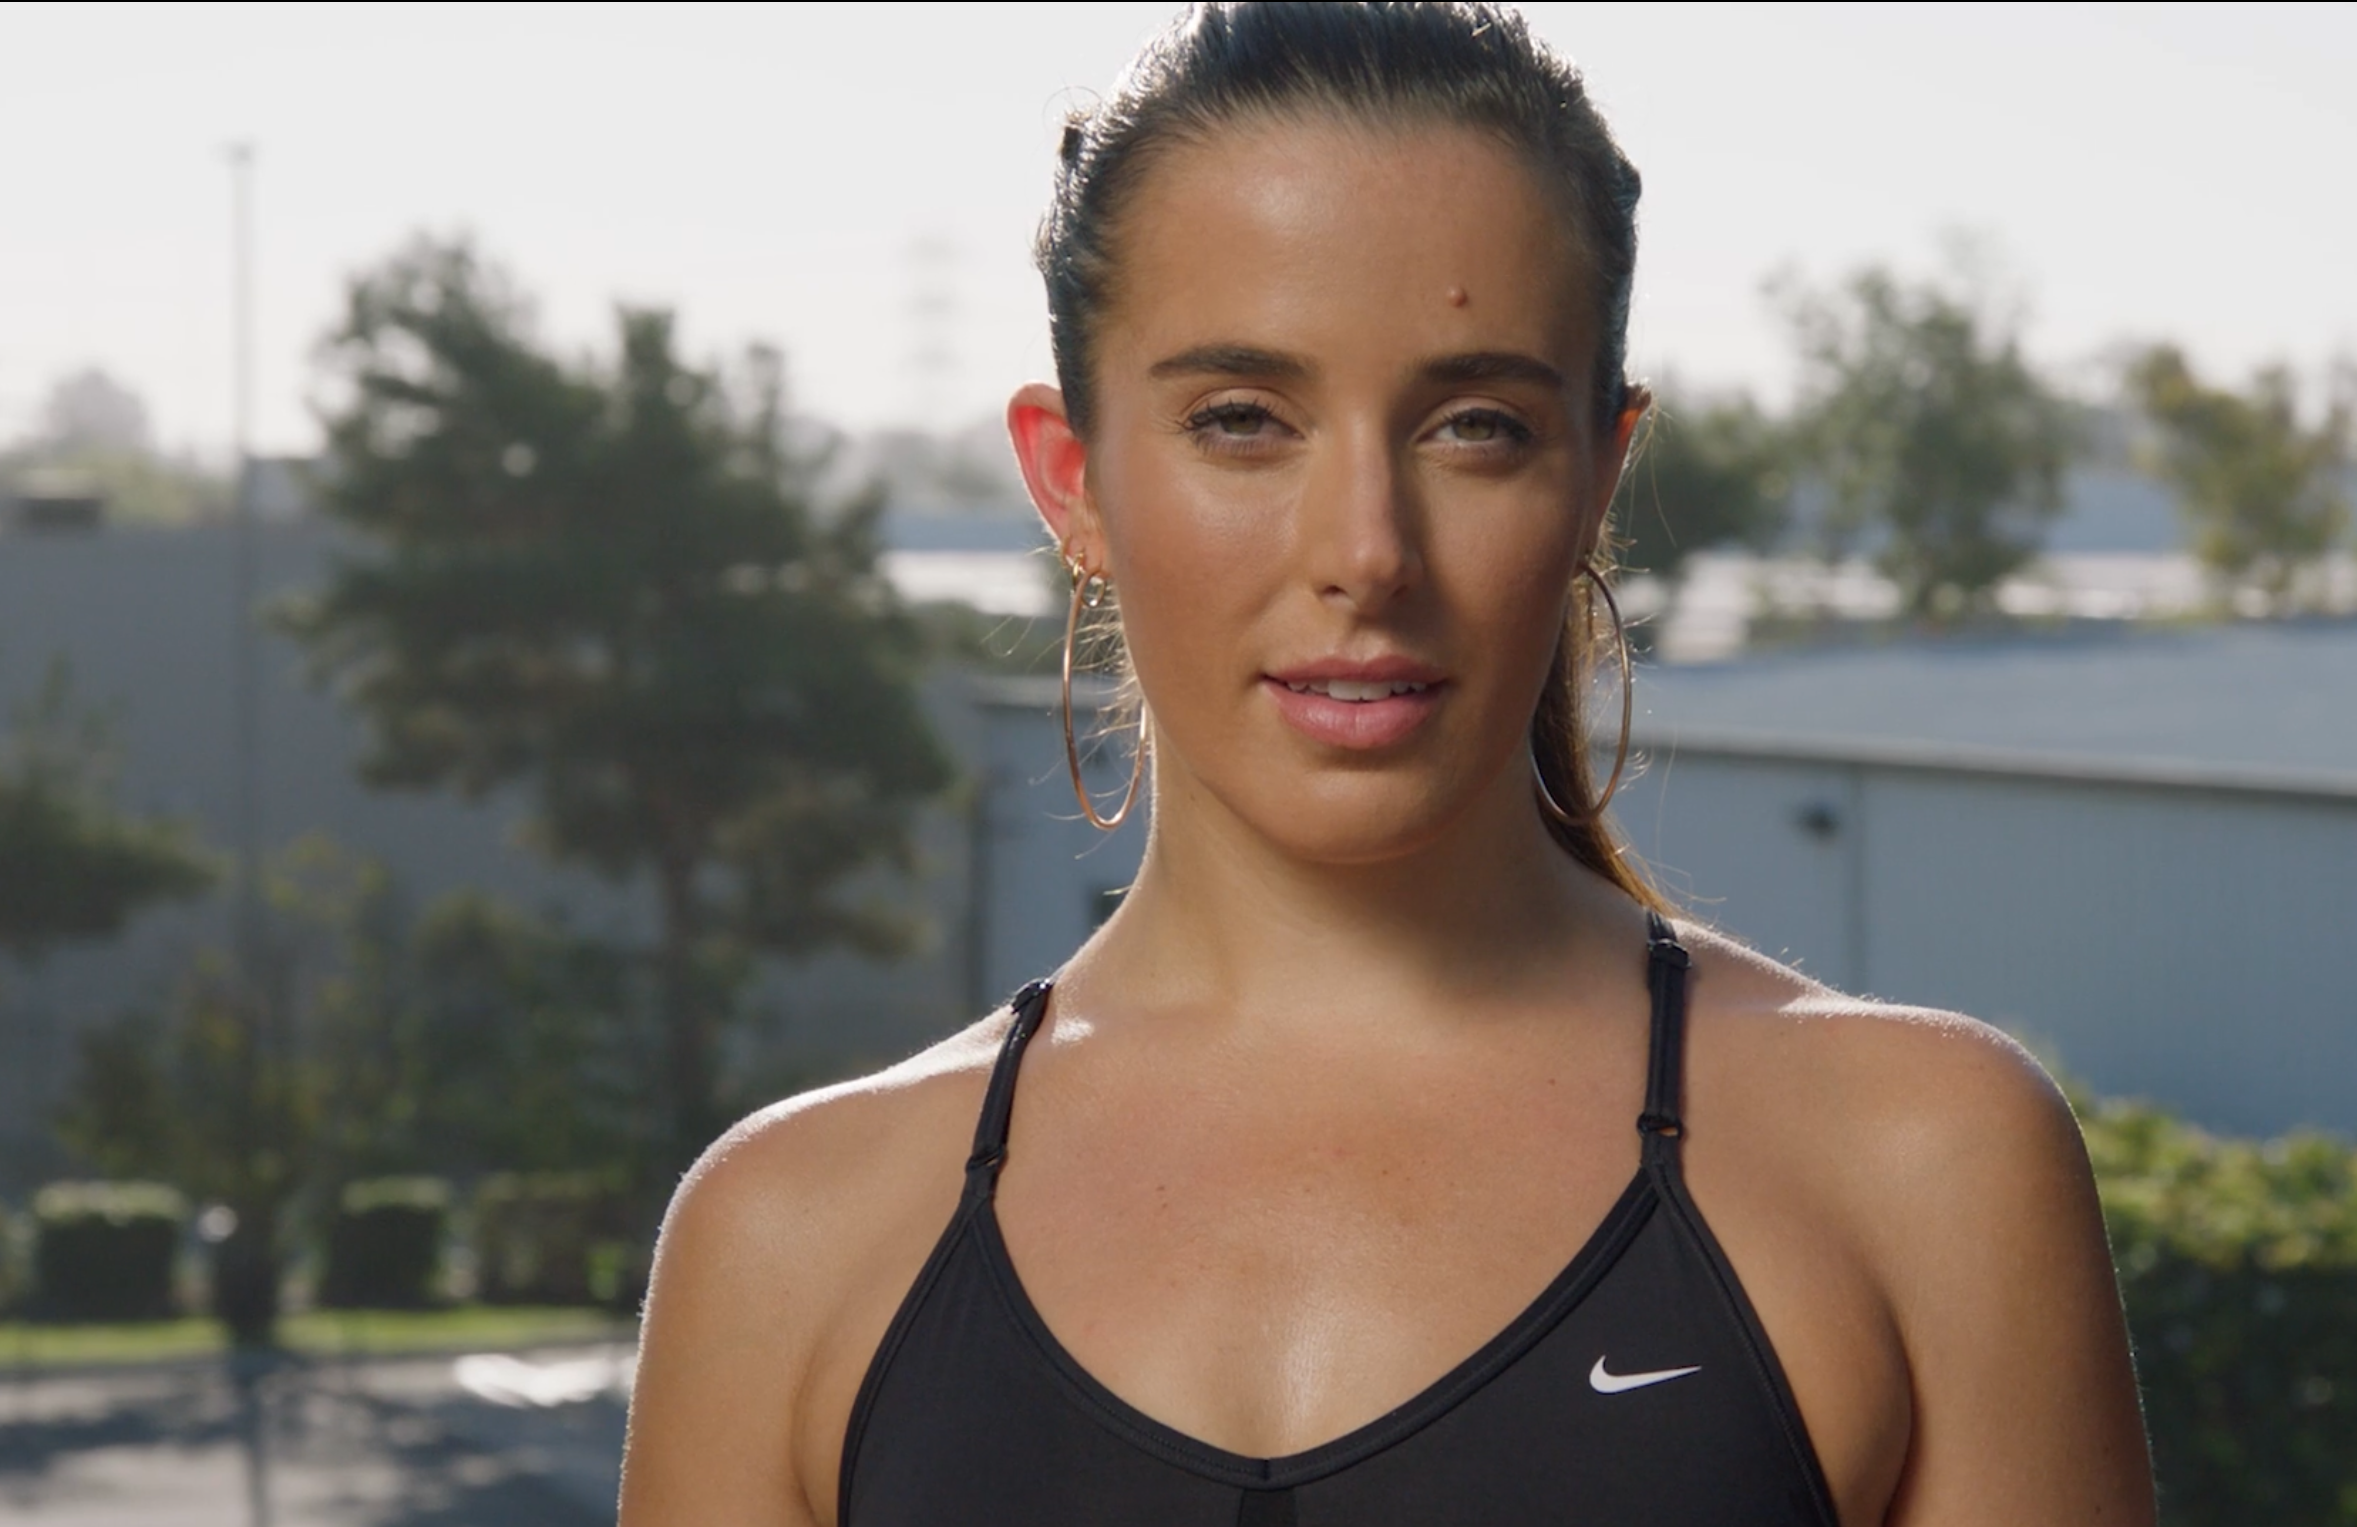
A good example of a backlit subject with dark elements in the background and the use of reflective surfaces to create shape.
Apply Negative Fill to Protect Contrast
Filling shadow is not always the goal — and this is where many cinematographers leave contrast on the table. Negative fill — using black cards, black fabric, or dedicated negative fill frames — subtracts ambient light rather than adding it. In hard light environments, unwanted bounce comes from everywhere: bright concrete, white walls, parked cars, and reflective surfaces all push ambient light into your shadow areas and erode the contrast you’re working to create.
Placing negative fill strategically blocks this ambient bounce and preserves the deep, defined shadows that give hard light cinematography its character and drama. In hard light, your shadows are the image. Protect them.
Diffuse Hard Overhead Sun
Low sun is cinematic. Overhead sun is a problem. When the sun climbs past roughly 45 degrees, the shadows it casts become unflattering — harsh patches under the brow, nose, and chin that read as unflattering rather than dramatic, and that destroy the tonal modelling you’re trying to achieve.
The solution is to change the quality of the light, not abandon the location. A large silk or diffusion frame placed between the sun and the subject softens the hard source into something closer to overcast light — gentler, more wrapping, with softer shadow transitions. You lose the directional drama of low hard light but gain control over the quality, which allows you to then apply soft light techniques (discussed below) even while shooting in full midday sun.
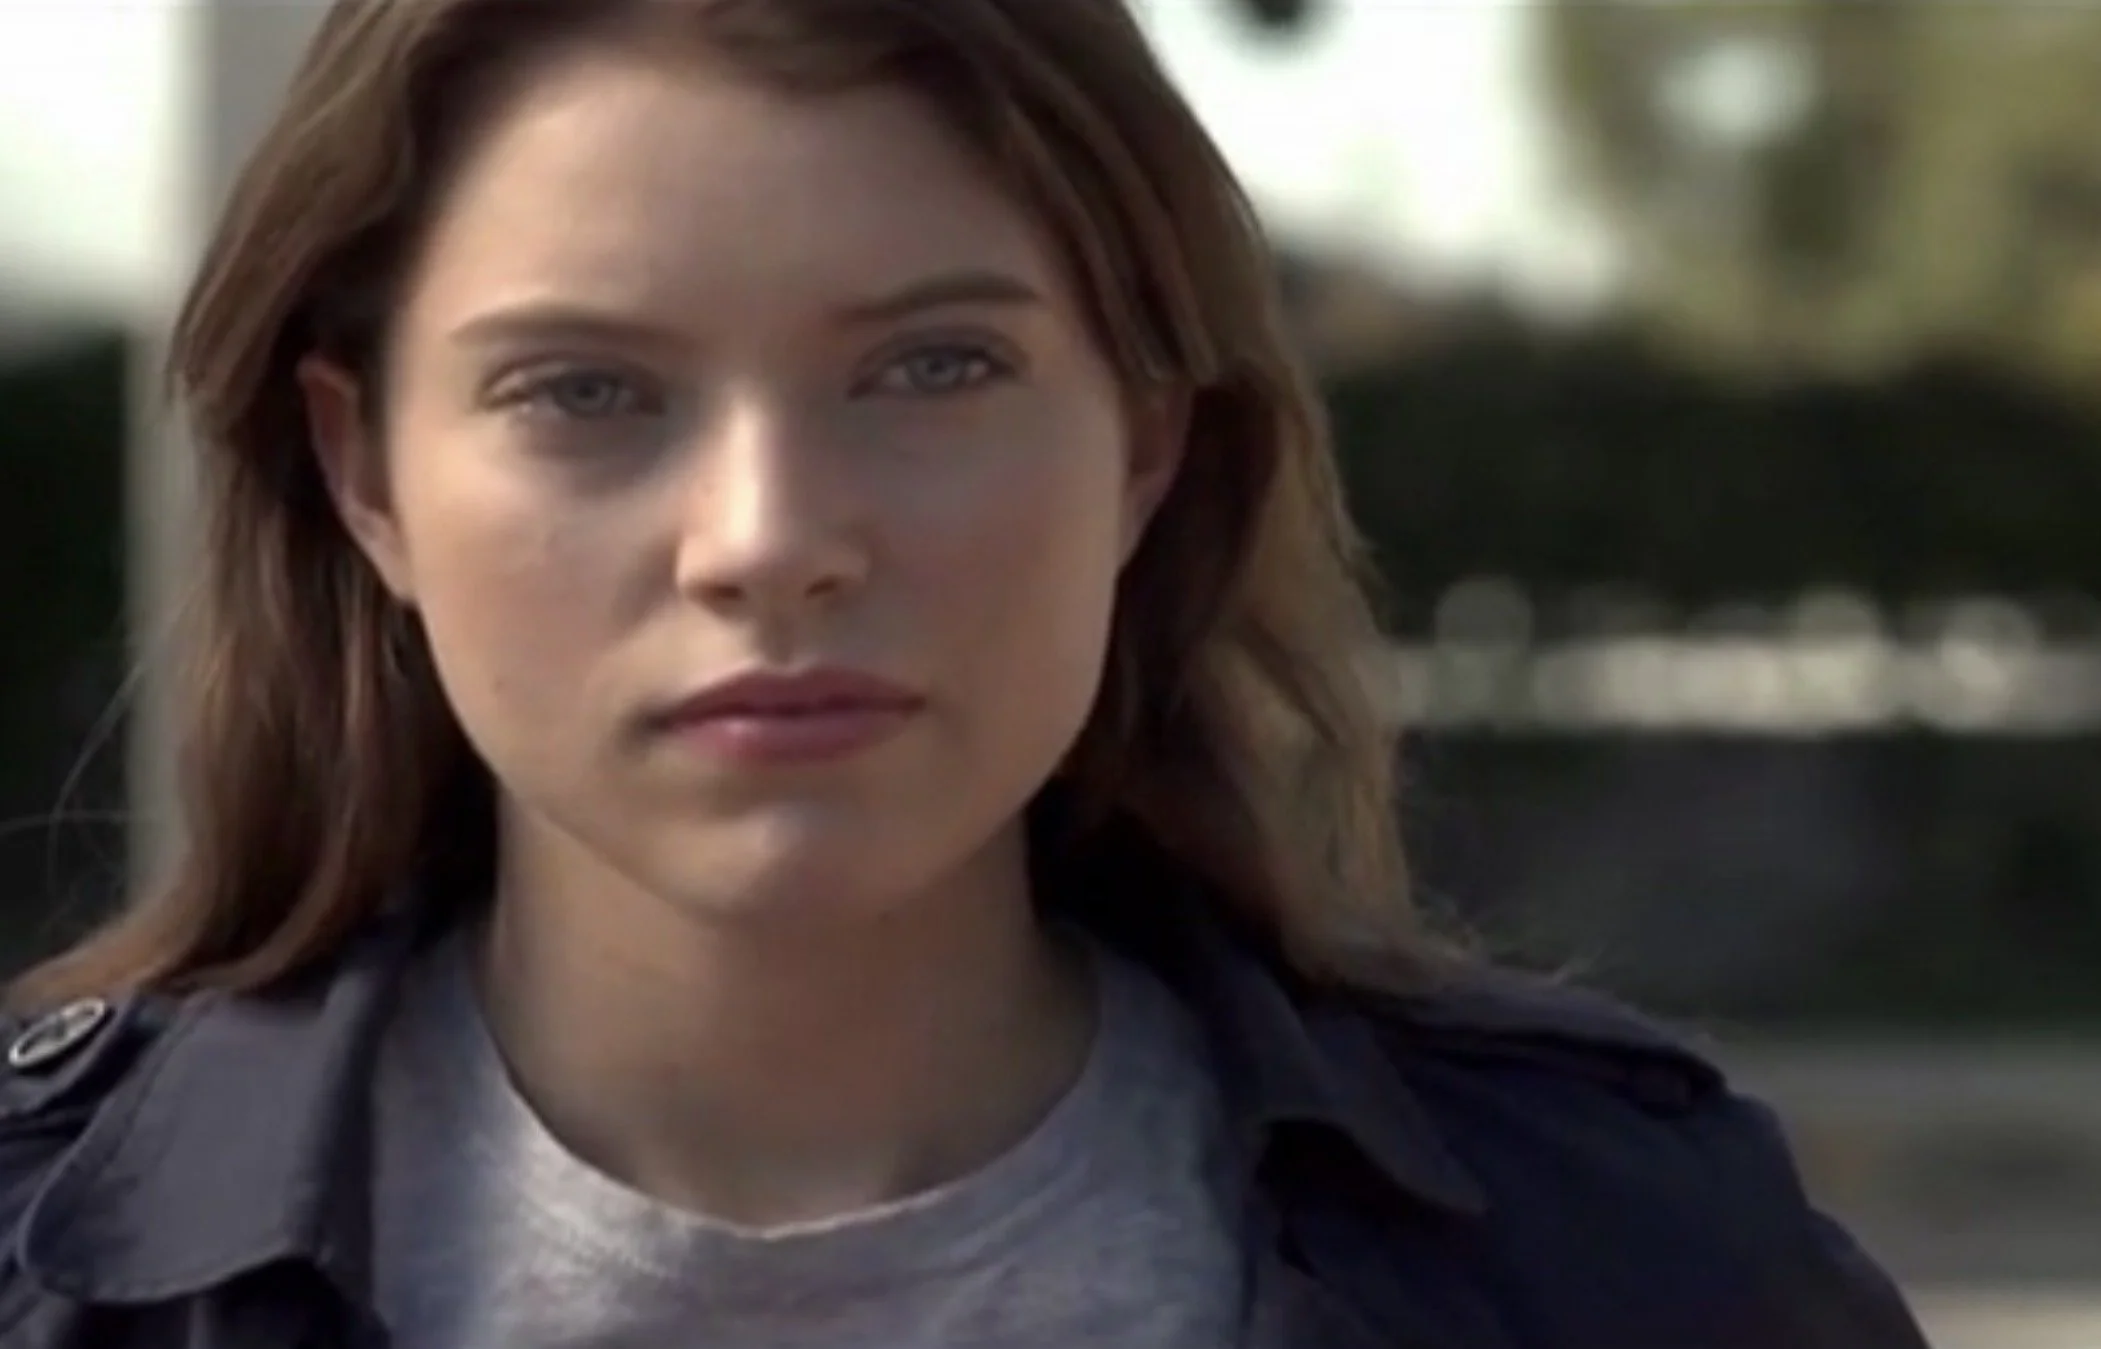
An example of using large diffusion overhead and some negative fill to create contrast.
Soft Light Cinematography: Working with Overcast Skies
Overcast skies create a completely different cinematographic challenge. The cloud layer acts as a massive natural diffusion panel, scattering light in every direction, eliminating hard shadows, and wrapping illumination evenly around everything in the scene. The result is flattering, versatile, and consistent — and deceptively difficult to make cinematic.
The challenge with overcast soft light is contrast — specifically the lack of it. When light wraps evenly around a subject from every direction simultaneously, faces flatten, subjects blend into their environments, and images lose the tonal separation that makes a frame feel three-dimensional and intentional.
To make overcast light cinematic, you have to manufacture contrast. And you do that through subtraction.
Negative Fill is Your Most Important Tool in Soft Light
In soft overcast conditions, negative fill becomes the single most powerful tool you have. Rather than adding light to shape the subject, you are removing it — positioning black panels, flags, or fabric to absorb the ambient soft light wrapping around the shadow side of the face or figure.
This restores the contrast the overcast sky has taken away: you get a clearly defined shadow side without the harsh shadow edge that a hard source would create. The result is controlled, deliberate, cinematic contrast — tonal separation that feels earned rather than accidental.
The more aggressively you apply negative fill in soft light, the more controlled the image becomes. A face bathed in overcast light from all sides reads as flat and evenly lit. Place a large black flag close on the shadow side of that same face and it suddenly has shape, depth, visual tension, and a three-dimensional quality that the flat soft light was suppressing entirely. You are carving into the light rather than painting with it.
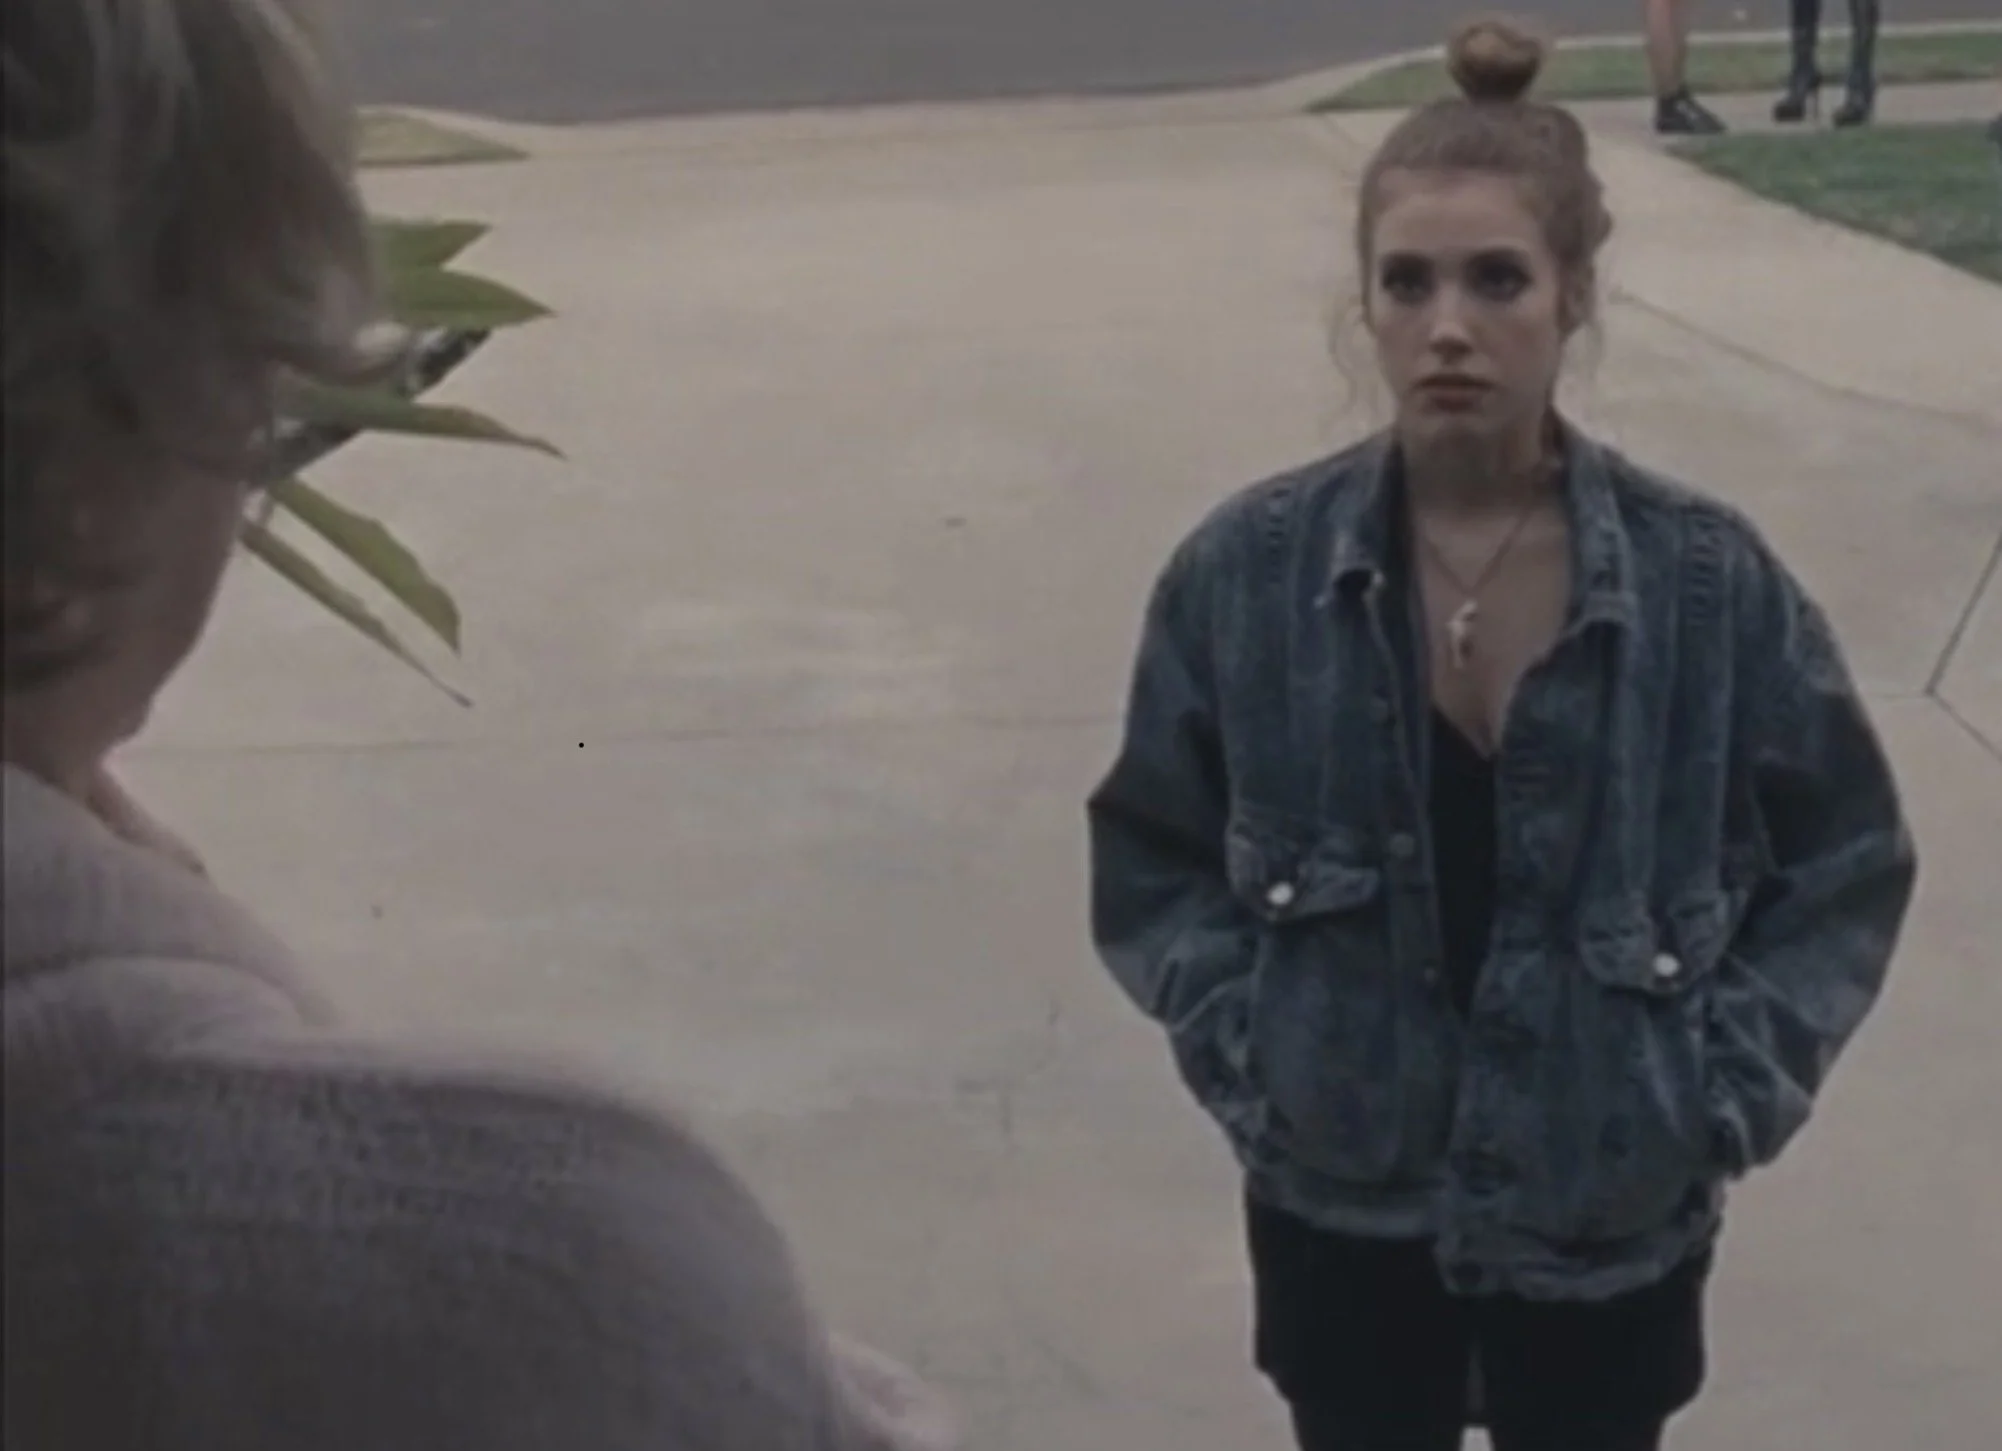
Using negative fill in the foreground to create contrast.
Find the Direction of the Sky’s Brightest Zone
Even on overcast days, the sky is not uniformly bright in every direction. The area of sky directly above where the sun sits behind the clouds is usually the brightest — a subtle but usable directional quality that you can harness as a natural key source.
Position your subject so their face is turned slightly toward this brighter zone of sky, then apply negative fill on the opposite side to create a natural key-to-fill ratio. This gives you tonal modelling — shape, roundness, and depth in the face — without any artificial lighting intervention and without the harshness of direct sun.
Embrace Flexibility
One of the practical advantages of soft overcast light for outdoor cinematography is freedom of movement. Without a hard directional source to manage, you’re no longer locked into facing one specific direction. You can orbit the subject, change camera angles, and reposition without losing your light relationship or blowing out the sky. This makes overcast conditions excellent for documentary work, run-and-gun shooting, or long shooting days where consistent light across multiple setups is a priority.
The Shared Framework: Dark Foreground, Lit Subject, Dark Background
Despite everything that separates them, hard light and soft light cinematography share the same underlying visual logic: subject separation, tonal depth, and controlled contrast.
In hard light, contrast arrives naturally through the sun’s directionality, and your job is to manage and shape it — using backlighting to separate the subject, reflectors to control the fill, negative fill to protect shadows, and dark backgrounds to maximize tonal pop.
In soft light, contrast must be actively manufactured — using negative fill to carve shape from flat illumination, using the sky’s subtle direction as a key source, and using the same dark foreground and background principles to give the image depth and cinematic weight.
In both cases, the compositional structure remains constant. Dark foreground. Well-lit subject in the midground. Darker background with selective accent lights. When every tonal zone in the frame is working correctly — when each element is in its proper place on the tonal scale — the image has weight, dimension, and that quality that’s hard to describe but immediately recognizable: it looks cinematic.
Frequently Asked Questions
What is the best time of day for natural light cinematography?
Golden hour — the 30 to 60 minutes after sunrise and before sunset — offers the most cinematic natural light conditions. The sun is low in the sky, producing hard, directional, warm light that creates strong rim lighting and backlighting effects. Blue hour, just before and after golden hour, offers softer, cooler light with a different but equally cinematic mood.
Is hard light or soft light better for cinematography?
Neither is objectively better — they require different techniques to make cinematic. Hard light from a low sun gives you dramatic directionality and contrast that you shape with backlighting, reflectors, and negative fill. Soft overcast light gives you flattering, even illumination that you make cinematic by manufacturing contrast through negative fill and careful subject positioning.
What is negative fill in cinematography?
Negative fill is the use of black cards, black fabric, or purpose-built flags to absorb ambient light rather than add it. By blocking light from wrapping around the shadow side of a subject, negative fill creates contrast and shape — particularly useful in soft overcast light where shadows are naturally very flat.
Why do cinematographers shoot into the sun instead of with the sun behind them?
Shooting into the sun — placing the subject between the camera and the light source — creates backlighting, which adds rim light, edge separation, and depth to the subject. Shooting with the sun behind the camera produces flat, even front light that eliminates shadows and makes the image feel two-dimensional. For cinematic imagery, shooting into the sun and shaping the resulting shadow with reflectors is almost always the stronger approach.
How do you use a reflector in natural light cinematography?
Position a silver or white bounce board just outside the camera frame, angled to catch direct sunlight and redirect it back onto the subject’s face. Moving the reflector closer increases the fill intensity; moving it further reduces it. Because the fill is reflected sunlight, it matches the color temperature and character of the key light perfectly, giving you a naturalistic result that artificial fill often can’t replicate.